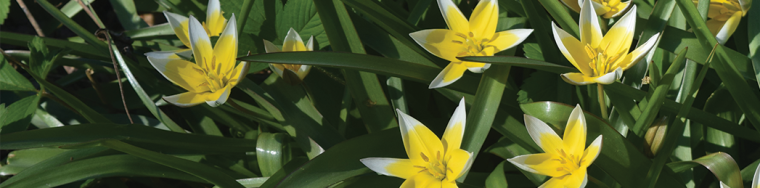
Again with the Tulips in Containers
Monday was a holiday, and I spent it planting 160 Tulips into 11 containers. Plus a 12th container I planted with ‘City of Haarlem’ Hyacinths (Hyacinthus orientalis).

There seems to be a fair amount of interest in planting Tulips in containers, so I’m doing this post even though I did a very similar one last year.
So why would anybody want to do this? For me, there are three main reasons.
First, I find it easier to work with hybrid tulips in containers rather than in beds and borders. The bulbs are relatively large and sometimes short-lived and the post-bloom foliage gets in the way. For beds and borders I prefer smaller bulbs like Grape Hyacinth (Muscari), Snowdrops (Galanthus), and Species Tulips.

Second, you can move your tulips in containers to wherever your heart desires – for example, to create a welcoming splash of color for your front door.
And last, this approach allows me to indulge my Tulip lust. There are 3,000 varieties of tulips out there, how can I be happy stuck forever with the same measly 10 or 12? I treat my container tulips as annuals, they go on the compost pile after blooming. Then I can order whatever I fancy for next year.

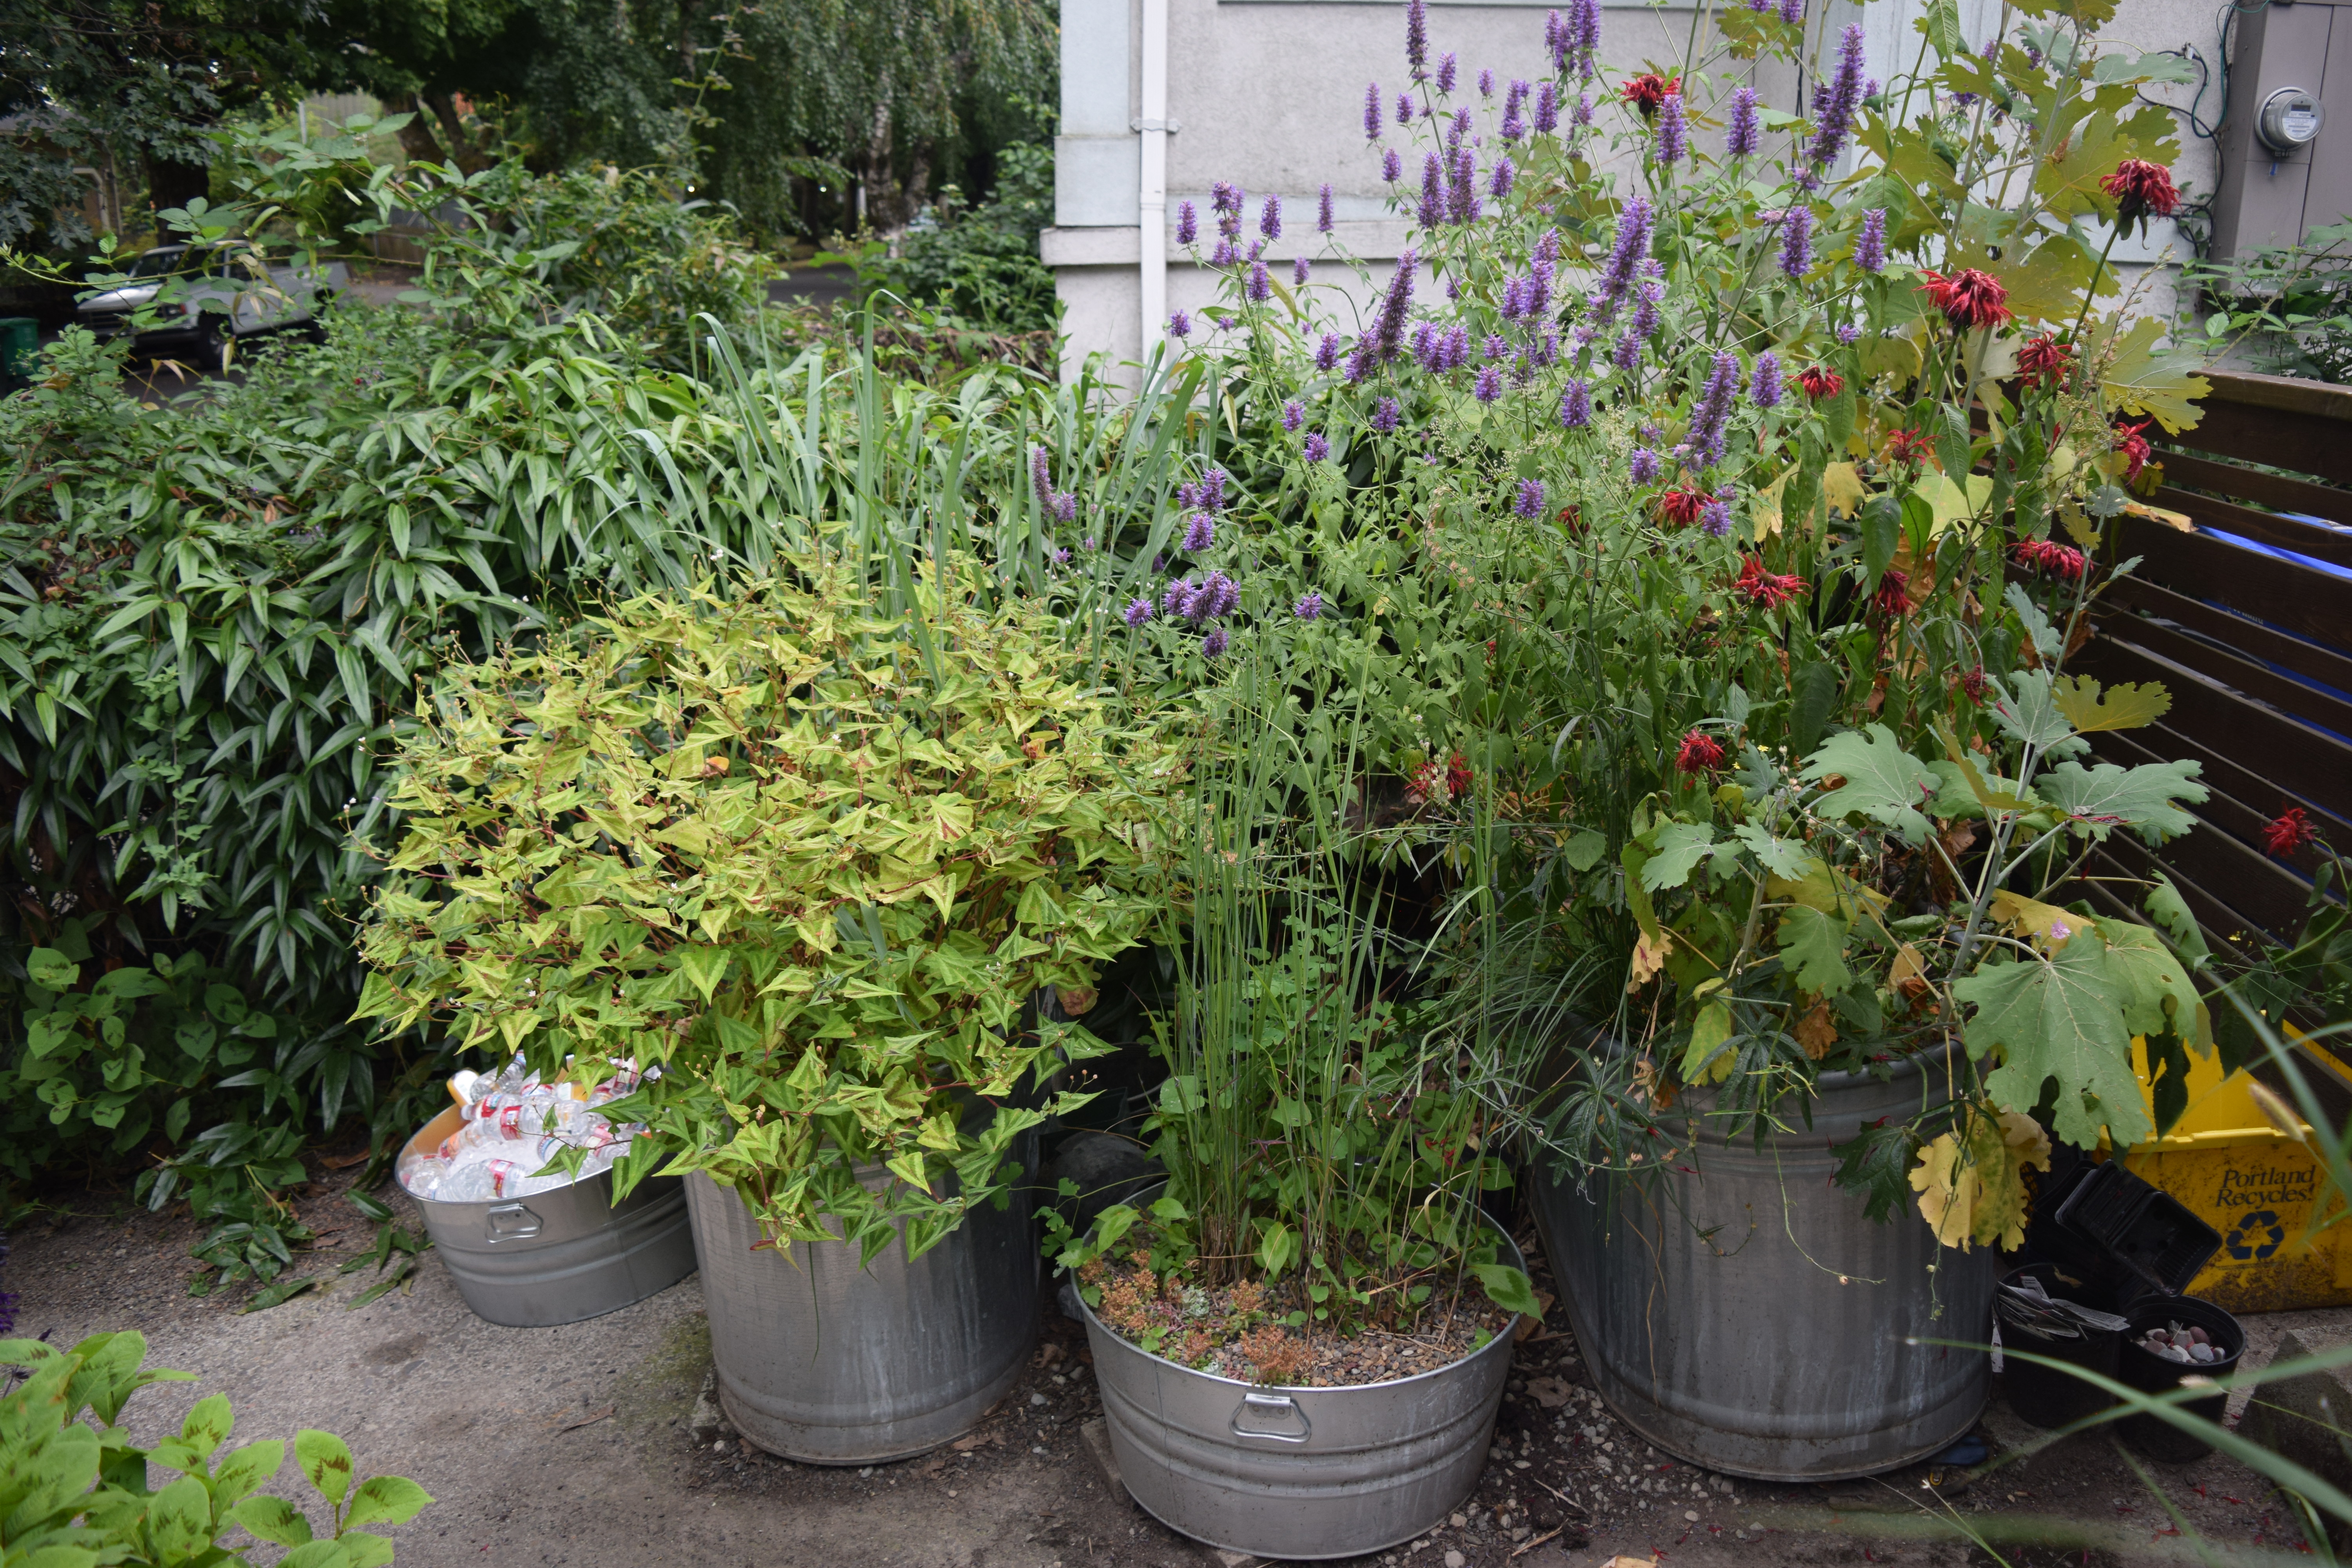
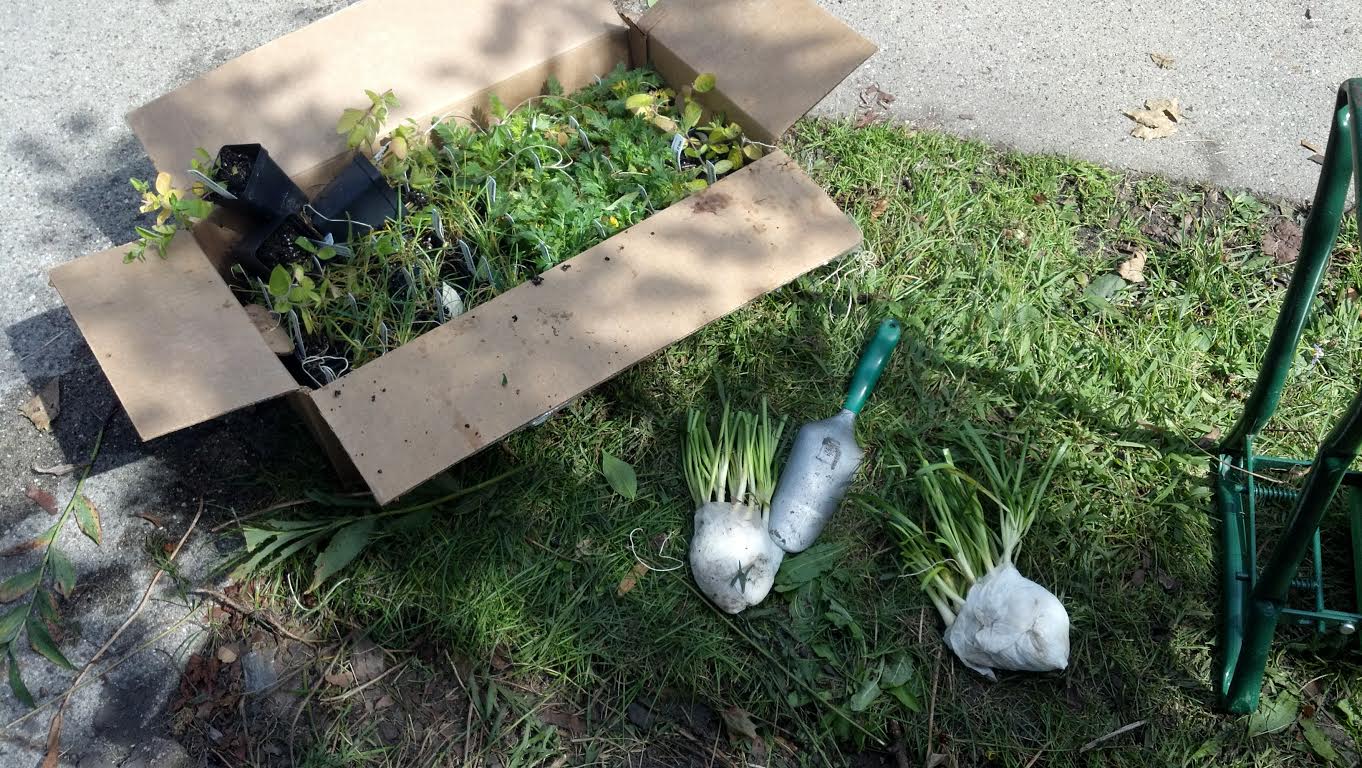
Planting tulips in containers is not complicated, but it is a bit of work. Of course, I had to start with pulling out all the summer annuals. And let me say, if you want to plant Mexican Petunia (Ruellia brittonniana) in containers, be aware that they are way easier to plant than they are to pull out. You’ve been warned. Then there are the following steps:
- Dump most of the planting mix into a bucket. You leave the container mix at the level where you want to plant your tulips. I generally plant the bulbs at least 8″ deep. But before planting I refresh the mix with a couple of handfuls of compost.
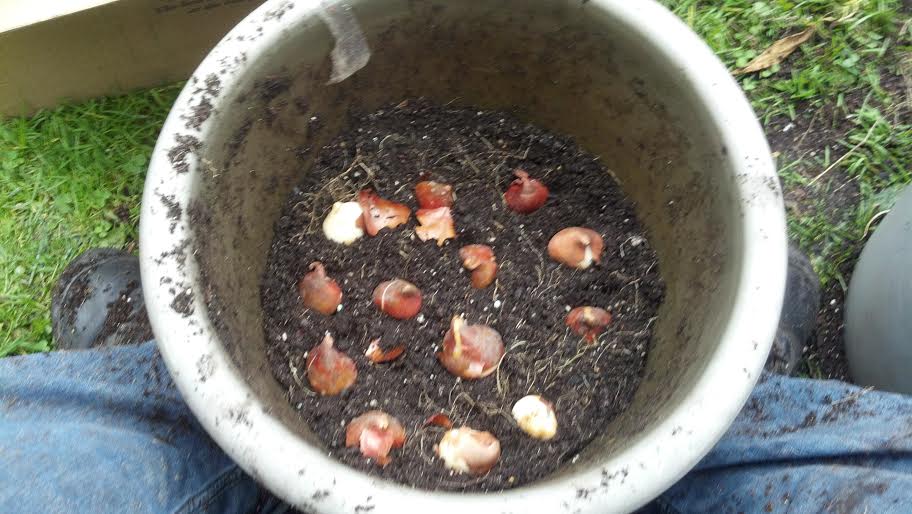
- Set the Tulip bulbs into the container. I plant them pretty close together – just an inch or two apart. Actually, they get closer together as the number of remaining containers dwindles.
- Fill the remainder of the container with the planting mix. I like to mix in another handful of compost at this point.
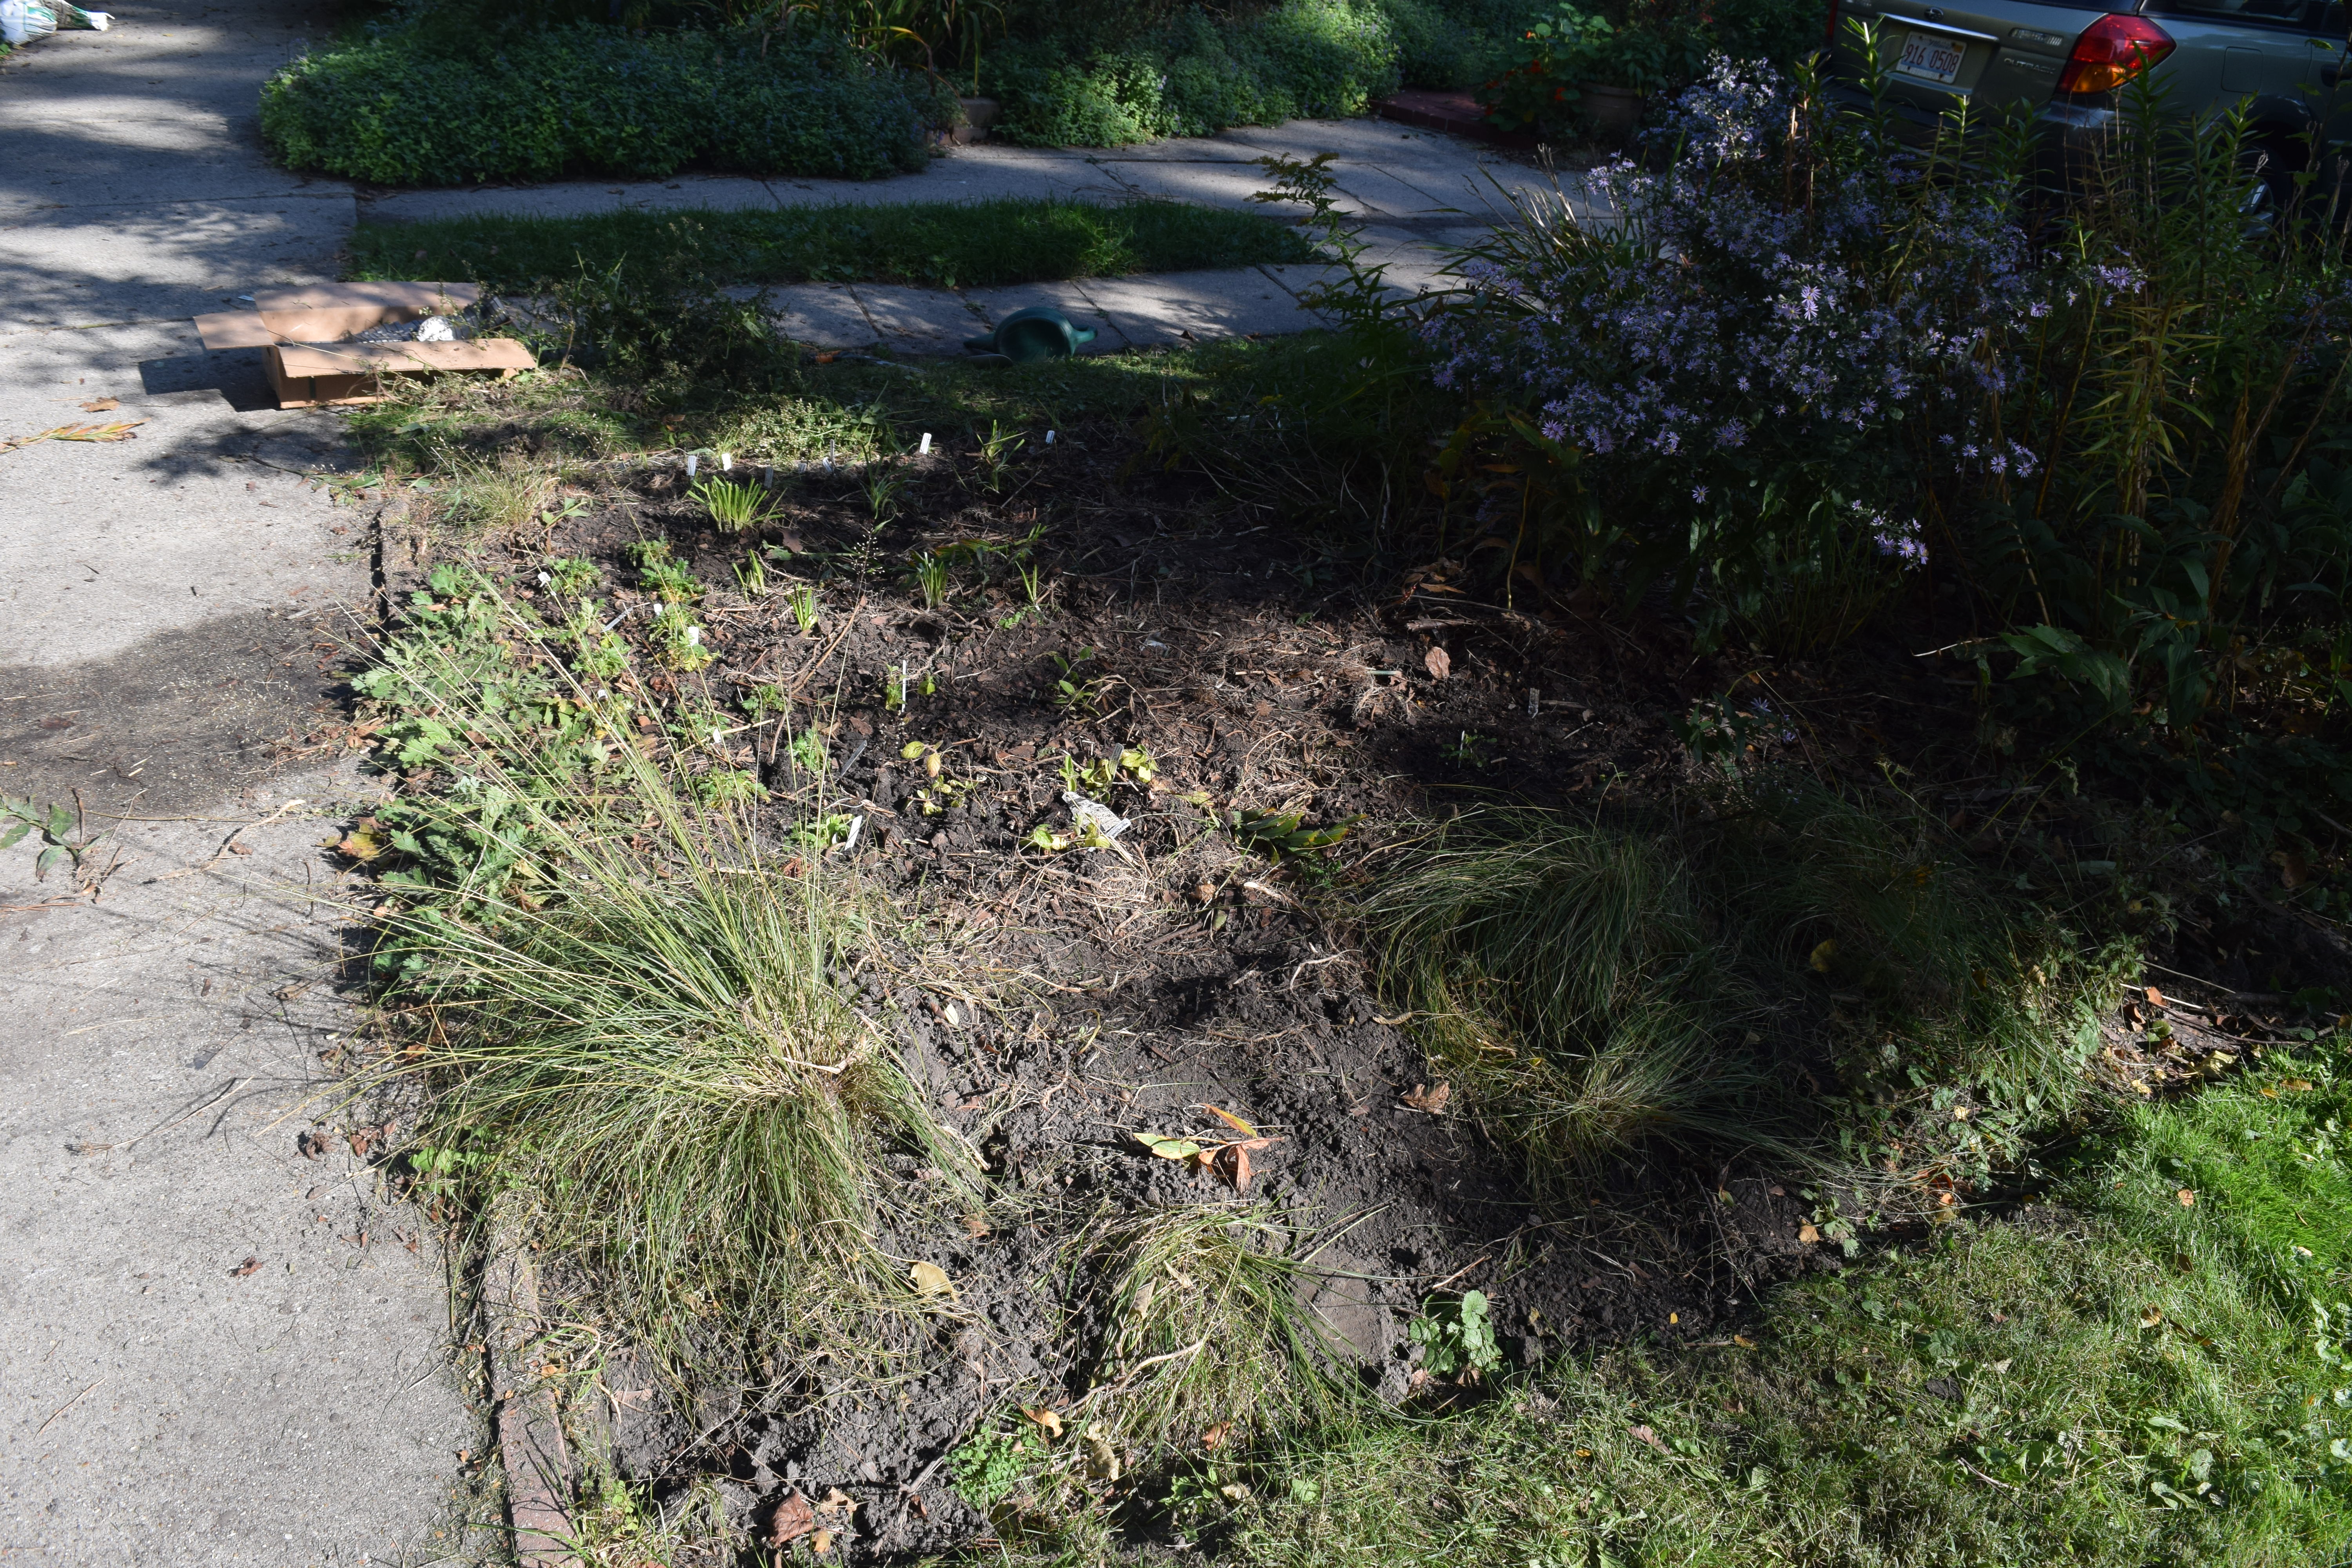
Now the question is where to leave the planted containers for the winter. You need a place that gets cold but not brutally cold. Year before last I left them in the garage, then last year I buried them in the Cuttings and Edibles Bed. You just have to bury them so that their tops are level with the ground. I’m going with burying again this year, though I didn’t get around to it on Monday.

Either way, it’s smart to put something on the containers to deter critters. I had leftover bits of hardware cloth and chicken wire that I secured with bricks.
In past years I’ve put a mix of early, mid-season, and late tulips in each container. This year the containers were a mix of either only early, early and mid, mid and late, or only late season bulbs.
Want to know what kind of tulips I planted? Sure you do!
- ‘Annie Schilder’: fragrant, orange, mid-season.
- ‘Ballerina’: lily-flowering, orange-scarlet, late.
- ‘Blushing Lady’: yellow-rose, late.
- ‘Couleur Cardinal’: fragrant, red-plum, early.
- ‘Early Harvest’: orange-scarlet, very early.
- ‘Elegant Lady’: lily-flowering, yellow-rose, late.
- ‘Keizerskroon’: fragrant, red-yellow, early.
- ‘Kingsblood’: deep red, late.
- ‘King’s Orange’: red-orange, mid.
- ‘Princess Irene’: fragrant, orange-purple, early.
- ‘Salmon Pearl’: fragrant, pink-yellow, mid.

You could say I’m not putting a big emphasis on subtle colors here. These will be tulips to wake you up in the morning. I am emphasizing fragrant tulips for the first time, something I’ve ignored in the past.
Of the 11 varieties here, eight are new to my garden.
You could make a pretty good case that this approach is expensive and wasteful. I think of it as my version of doing an elaborate Christmas lights display or Fourth of July Fireworks.
Already I can’t wait until Spring.